

No major mod's yet as I want to see what aftermarket kits come out (tracks wheels etc) so I'm just doing some cosmetic changes first.
Start with the front armour upgrade-


Been putting this off as I didn't want to chop up a new tank-

Filled in the gap (looks sporty)-

Side armour added-

Decided to add some Bar Armour-


The BAR armour is fixed to the upper hull and slots onto the rear brackets.
Got metal wheels and tracks coming my way so I'll have to start beefing up the lower hull.
Decided to add bearings to the drive shafts. The biggest problem is that by fitting bearings to the hull of the tank it makes it difficult to get the gearboxes out so I've made removable bearing housings that slot into a fixed mount-
You can just about see the grey mount inside-


There are four bearings (with spacers) in the housing. The end is sealed so the don't come out.-

The housing sticks out a bit (but not so it fouls the sprocket) which'll help take the strain.

Took it out for a test spin (video to follow) and it works great. It's still got the nylon gears (still breaking in the metal ones) and was surprised how well the did. They ran faultlessly and didn't skip once in about 30 mins running around. I even had it doing 360's on carpet with out any problems apart from losing the odd track pad every now and again.
Quick video of the running gear test-
Added rubber (bicycle inner tube) mud flaps to the front-

And added more the the rear BAR armour-

They're all hinged.
Added bearings the the steels gearboxes-

and started detailing the hull with the pink tinted drivers vision block-

GPMG from Shapeways-


http://shpws.me/LhJh
http://shpws.me/LhJl
Use GunBlue to blacken the tracks,sprockets and idlers-

I want to be able to get into the turret without taking the tank apart so the turret top will be held in place with magnets/clips. This means that the gun needs mounting to the turret bottom. Also one of the things that bugs me about this tank is the fact that the gun doesn't go lower then the level of the engine deck. So I've modified the elevation unit so the gun can be lowered below the horizontal and automaticaly raises as the gun rotates over the back.
Printed a bracket to hold the modified recoil/elevation unit-

Printed out a mold to make a latex recoil gaitor


This was Version 1 which isn't quite right so I'm working on V2.
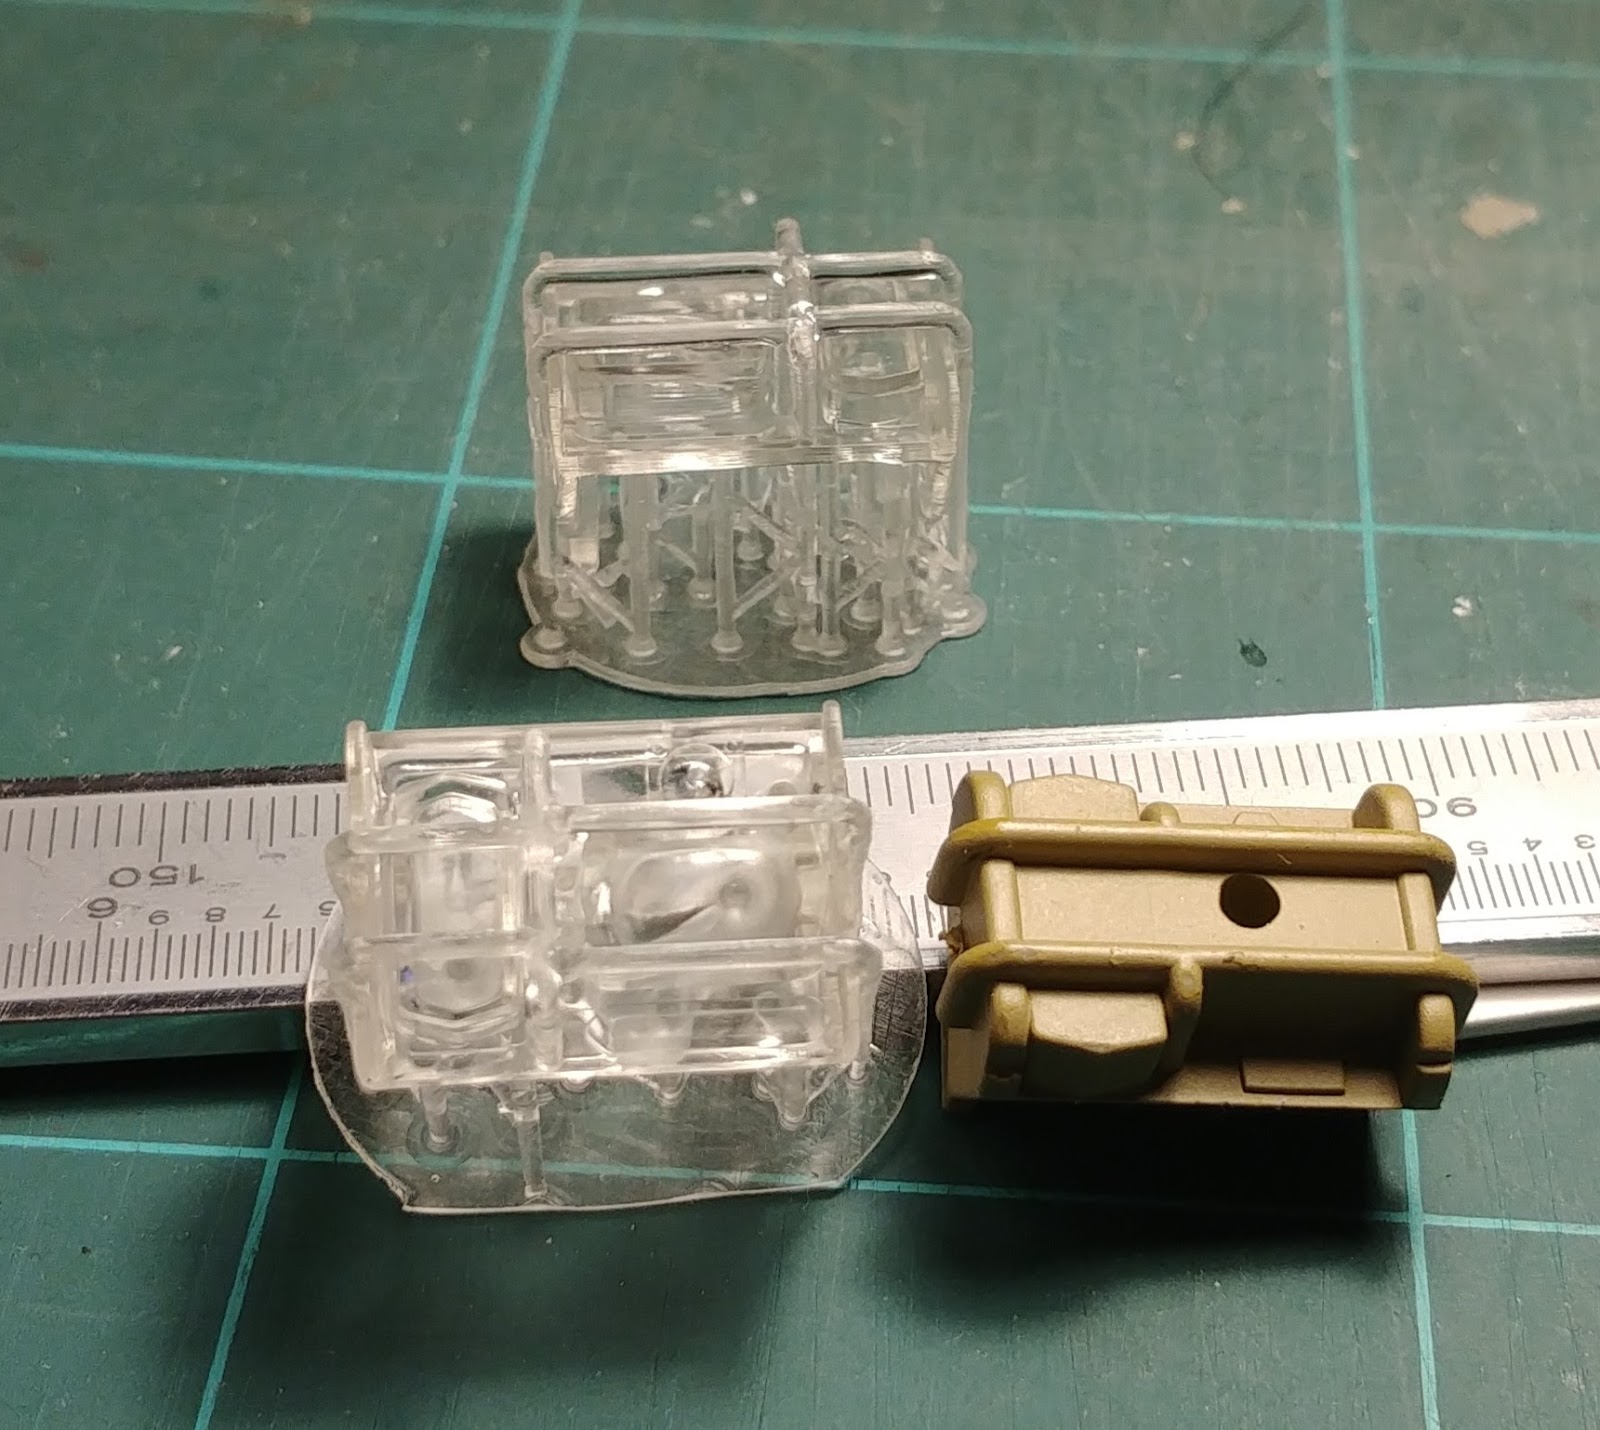
Printed some targeting lenses-


Coax MG and hinged covers for the aiming ports -


Filled in the holes in the turret roof-

Added magnets to the turret so that I can take the top off without having to take the turret off the tank to get to the screws-


Printed some bolts-

Fitted it all together to see how it looks so far-

Just noticed that the loaders hatch rotates-

So out with the Dremel a bit of milliput and a cylinder printed to fit-

Made a cover to go over the gap between the turret and the gun mount. It a piece of bin liner stuck on a bit of carpet tape. Then used platicard on the turret top to make a slot that it slides into.

Max depression

Max elevation

Lightbulb-


SW's- http://shpws.me/QBTJ
Broken down ready for under coating-

Undercoated ready for painting-

1st layer-

Base coats done now for some of the detail before weathering-

Bit of weathering-


Almost done-


Super work, this is going to look great.
ReplyDeleteHow did you make the add on armour please?
ReplyDeleteIt's Printed.
DeleteWhere are you selling your chally part's from now shapeways has finished thanks
ReplyDelete