


When printing the front section part of the printed support got knocked off but I spotted it in time to save it (hence the split in the side).
Been busy so not got much done on any of my tanks. Most of the parts needed for this tank have already been designed for other projects so its just a case of changing a few things and printing them out-

Making new wheels and tyres-

The new wheels are a bit bigger then the HL ones but smaller then the Mato ones.

New manlet and barrel-

As I am going to use the Mato metal/plastic tracks I'll need to fit the Mato sprocket but the short HL drive axels are too long so I swapped them for the Mato drive axels (which fit perfectly into the HL gearboxes) HL axel on the left.

But the Mato ones are still a fraction too long

Drilling out the inside of the inner sprocket solved this problem-

Lego blocks for attaching the upper hull-

Tracks/wheels all done and new mud guards-

Clean the back off ready for a new hatch and exhausts-

New engine access door and air filters-

Added bits to round off the bottom of the hull (cast hulls had rounded bottoms)-

Tow Hook added

Front tow brackets added

Gun elevation and recoil-

Hatches and extra armour welded onto the sides-


More fixtures and fittings-


Added the lifting hooks, converted the turret to a low bustle version and added the bolts to the transmission cover. Now ready for priming and painting-


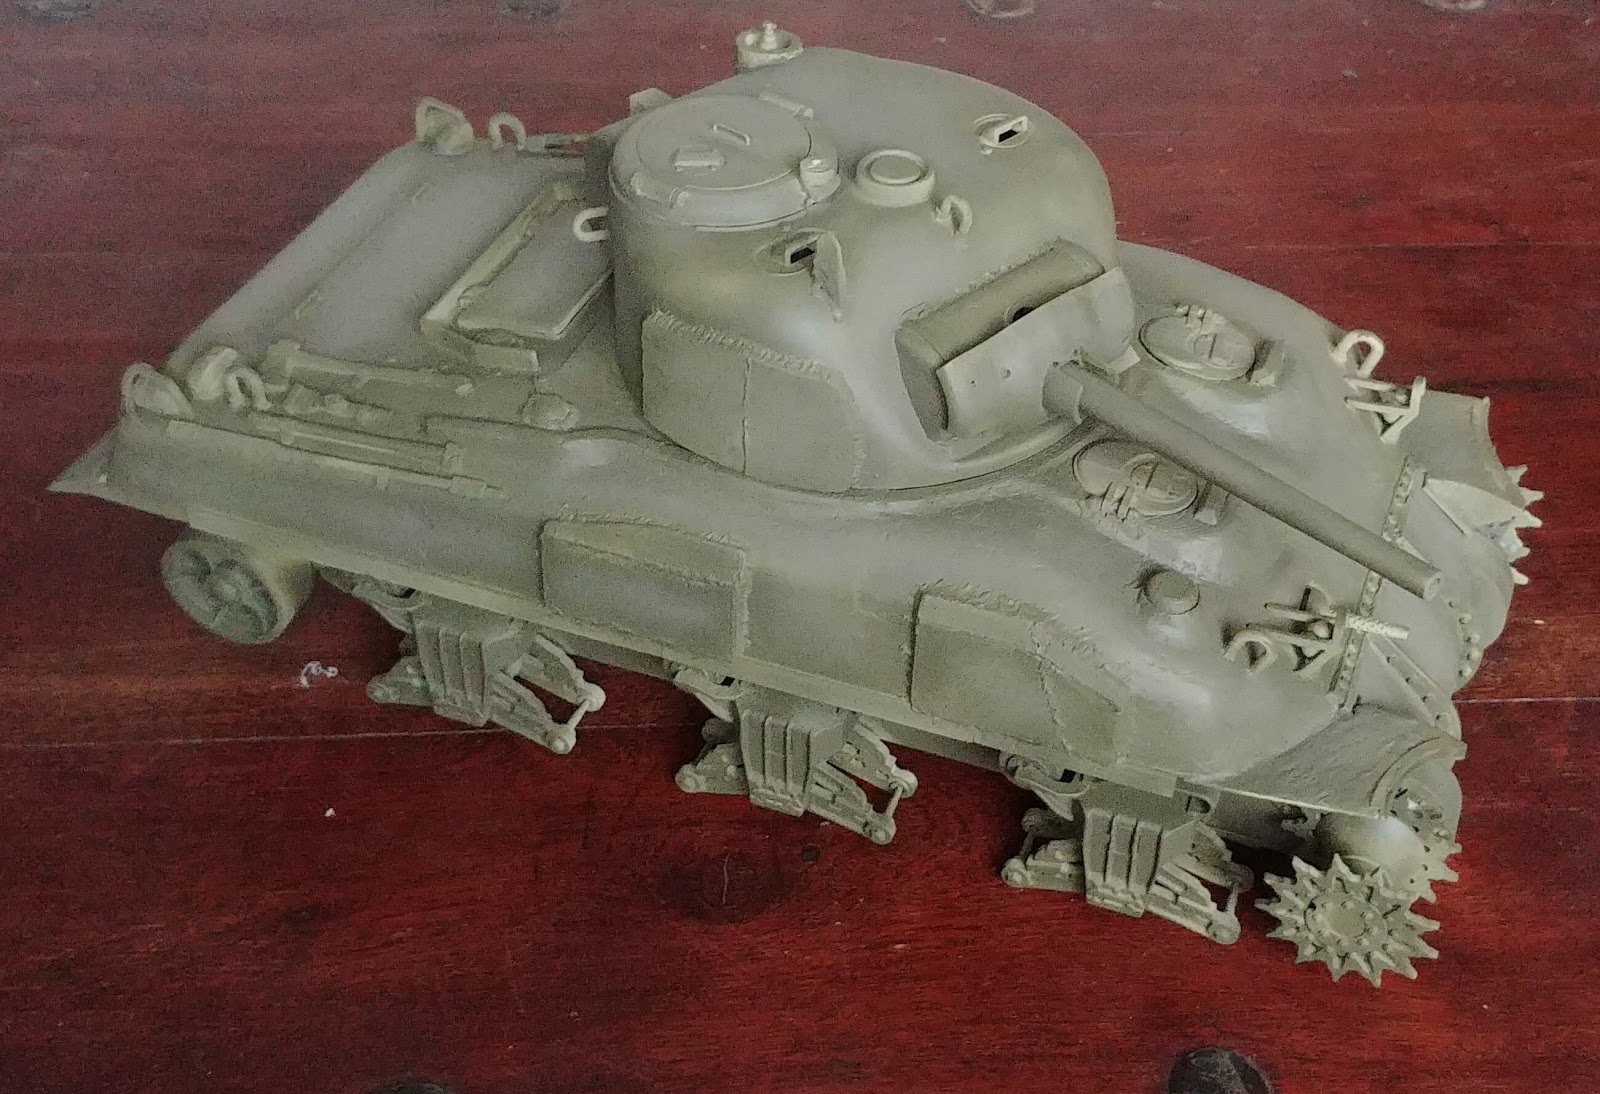
All primed ready for painting-

Olive Drab base coats-

Weathering-


More weathering (almost done)-


Pictures of the finished model can be found HERE
3D printed parts used in this build can be found on my SHAPEWAYS page
Nice build. Is the upper still available as an STL now that Shapeways is no more?
ReplyDelete